Sketch Accions Bàsiques

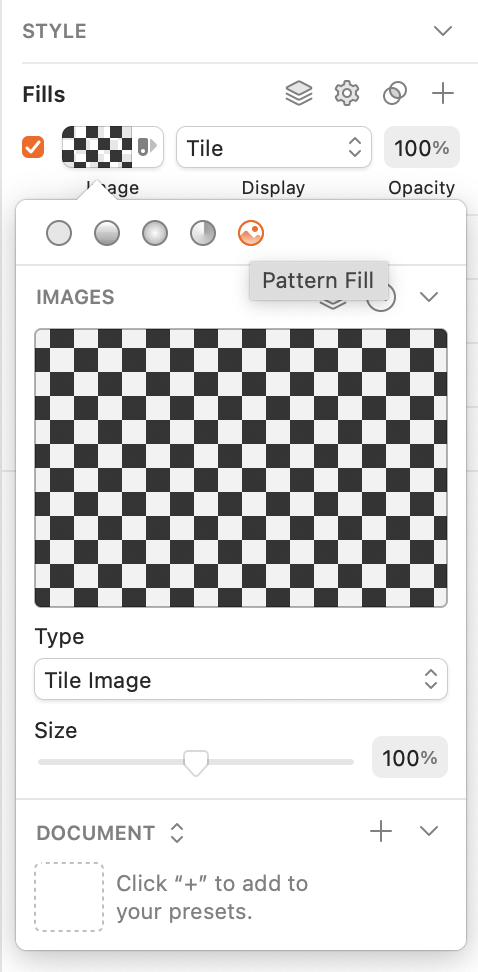
Sketch Basic Options


This application is very similar to Illustrator and Indesign.
This page contains the necessary notes to understand the Sketch application if you have previous knowledge of graphic or web design.
If you have studied design or work as a designer you will not have problems, it will even be easy for you with these notes, but if you come from marketing, user experience or you are a programmer it will be more complicated. In this case, I recommend that you study: typography, composition, art and design history, photography, color theory, usability, etc.

You should know first:

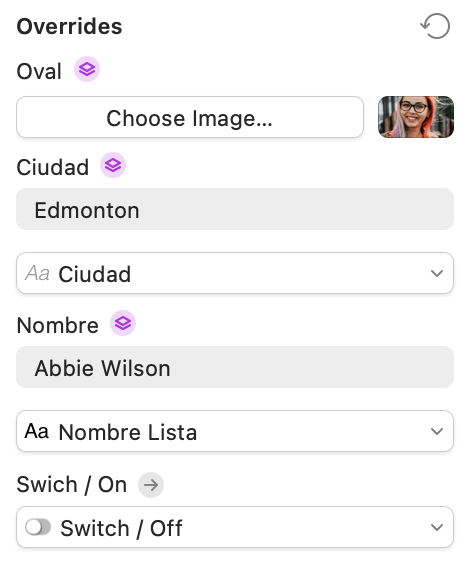
  • Left: pages and component groups.
  • Right: the preferences and different tool bars options.
  • Top Main: actions and insert menu to create objects and other actions.
  • Center: the workspace.

Shortcuts

Move

Space bar + LBM

Zoom

Wheel Mouse + Command

Duplicate

Select object and draw + ALT
Repeat duplicate Command + D

Group / Ungroup

Command + G
Command + Shift + G

Fit Canvas

Command + 1

Fit Object

Command + 2

Move along pages

fn + Arrows

Transform

Alt + Drag LMB (Scale)

Command + Drag LMB (Rotate)

Increment proportional

Shift

Export

Make exportable Button (Presets)

To Size

Distance between objects: Alt + LMB over the object
Padding: Alt + LMB out of the objects

Select Layer

RMB Options

Move Document to web

File – Move to

Preview

Command + p

Create Artboard

Insert / Artboart / Select Device

Duplicate Artboard

Alt + Drag over Artboard Name

Create / Detach Text Style

Tool Panel / Appearance / Create

Tool Panel / Appearance / Detach (Delete Style)

Copy / Paste Text Style

Alt + Command C

Alt + Command V

Paste text with text Style

Alt + Command + Shift + V

Eyedropper tool / Select Color Picker

CTRL + C (Pick Over the color)

Create Symbol Instance

Click on Create a Symbol Icon in Tool Bar (Don’t Group Elemnts)

Modify Symbol Instance

Tool Panel / Symbol / Edit

Duplicate Symbol

Alt + Drag over Artboard Symbol Name
You can create multiple versions of the same symbol

Show and Modify Symbols Instances
Tool Bar Left / Change Canvas to Show Components / Tool Bar / Symbols

Show and Modify Text Styles Instances
Tool Bar Left / Change Canvas to Show Components / Tool Bar / Text

Show/Hide Layout

CTRL + L

Show/Hide Grid

CTRL + G

Show/Hide Rulers

CTRL + R

Customize Tool Bar Options
RMB on Top Bar Menú (over any empty space)

Create Symbol (instance)

  1. Select the objects (Don’t group)
  2. Press Create Symbol Button
  3. Open Symbols Page. The symbol is inside and you can modify it.
  4. To insert symbol: customize Tool Bar Symbols with Symbol Icon or Insert menu / Components / Symbol

IMPORTANT: Create text styles before create the Symbol.

Overrides


The overrides are symbols that are inside other symbols.
Change symbol of the list of overrides: Tool Bar Right Overrides Menu.

Data Random

Random names, cities, faces…

  1. Create a Symbol
  2. Open Page Symbols
  3. Select Text or Image
  4. Press Data Icon (Customize Tool Bar Symbols: Data Icon)

Refresh Data


It is necessary to see the changes.

  1. Select all symbol copies
  2. Tool Bar Right Overrides Menu / Override with Data (Blue Icon)

You can change the symbol text without delete the random.
Also you can combine different states of the same symbol in buttons, images or icons.

Responsive Options


You can decide how the symbol components will adapt to different screen sizes.

  • Symbol Page
  • Select the component of a symbol (image, text, shape…)
  • Tool Bar Right / Resizing Options

Fill Image or Mask


Fill Image

You can insert image in shape with fill options.
You can use, directory images, data images or copy paste image from document.


Mask

Also you can use the Mask method selecting the shape and the image and doing click on mask ICON (or RMB options).

Grid, Layout and Rulers


You can see grids and layouts and modify parameters in Top Tool Panel / View.

You can combine different measures of columns and rows to create a layout similar to Indesing.


Show/Hide Layout

CTRL + L

Show/Hide Grid

CTRL + G

Show/Hide Rulers

CTRL + R

Smart Layout

It is used to change the distance between objects of the same symbol when they change size.
Fires when a new symbol is created.
It does not work with overlapping objects.
You can change the options on the symbols page.
You can create symbols within other symbols with different layout properties between them.

Example:
You can create a button symbol with text and box and fix Horizontally Center Layout.
When you modify text, the box will adapted to new size.
You can create a symbol of buttons group. All the buttons will adapt when you change text.

Prototype

Link Artboards

  1. Select component or symbol.
  2. Press W and put the arrow over the Artboard that you wand open.
  3. Press Preview (Comand + P) and click over symbol to chek the link is running well.

Hotspots (Press Area)

You can create a shape area over de component and create a link.

Hotspots Inside Symbols

You can create a shape area over de components in symbol page.

If you have a group of symbols like a menu, you can create different links areas.

To do this you must press W and go to the Right Superior Corner Artboard . A list of the Artboards will appear.

Return Button

Press W and go to the Left Superior Corner Artboard.

Delete Link

Trash Icon in Left Tool Bar Menu.